
This article is based on introductory material originally published on eduonix.com. It has been expanded and restructured for a DevOps engineering audience.
Why Containers Replaced Traditional Deployment Methods
The traditional approach to deploying applications relied on OS-level package managers. While straightforward, this method created a tight coupling between application binaries, configuration files, and shared system libraries — making it difficult to run multiple applications with conflicting dependencies on the same host.
Virtual machines (VMs) offered isolation, but at the cost of significant overhead: each VM runs a full guest OS kernel, making them slow to start, resource-hungry, and less portable across infrastructure providers.
Containers solve both problems by providing OS-level virtualization. Rather than emulating hardware, containers share the host kernel while isolating user space. Each container gets its own file system, process namespace, and resource allocation — but without the overhead of a full guest OS.
Key Characteristics of Containers
- Isolated file systems: Each container ships its own runtime dependencies, eliminating “works on my machine” problems.
- Process namespace isolation: Processes inside one container cannot see or interfere with processes in another container or on the host.
- Configurable resource limits: CPU, memory, and I/O can be constrained per container, making application performance predictable.
- Portability: A container image built on a developer’s laptop runs identically in CI, staging, and production — regardless of the underlying OS distribution or cloud provider.
- Small footprint and fast startup: Because there is no guest kernel to boot, containers start in milliseconds and consume far less disk space than VM images.
Benefits of Adopting Containers in a DevOps Workflow
- Predictable behaviour: Resource limits mean you know exactly how much CPU and memory an application consumes before it reaches production.
- Environment consistency: The image built at compile time is the same artefact deployed at runtime, eliminating environment drift.
- Agile build and deploy cycles: Images are created at build time rather than deployment time, decoupling application packaging from infrastructure concerns.
- Separation of concerns: Development, build, and operations teams can work independently without being tied to a specific infrastructure stack.
- Microservices-friendly: Applications are decomposed into smaller, independently deployable units that are easier to test, scale, and maintain.
- CI/CD integration: Container registries integrate naturally with continuous integration pipelines, enabling automated testing and one-command deployments.
What Is Kubernetes?
Kubernetes (commonly abbreviated as K8s) is an open-source container orchestration platform originally developed by Google and now maintained by the Cloud Native Computing Foundation (CNCF). Its purpose is to automate the deployment, scaling, and management of containerised applications across a cluster of machines.
Kubernetes bridges the gap between raw clustered infrastructure and the operational requirements of distributed applications. Without an orchestrator, running hundreds of containers across many nodes requires manual intervention for scheduling, health checking, networking, and storage — tasks that Kubernetes handles automatically.
Problems Kubernetes Solves
- Authentication and authorisation: Built-in Role-Based Access Control (RBAC) lets you define fine-grained permissions for users and service accounts.
- Application debugging:
kubectl logsandkubectl execgive operators direct access to running containers for troubleshooting. - Centralised logging and event tracking: Kubernetes emits structured events that integrate with logging stacks (e.g., Elasticsearch, Loki) to monitor cluster health.
- Resource monitoring: Metrics APIs expose CPU and memory usage per pod and node, enabling dashboards and alerts.
- Automatic scaling: The Horizontal Pod Autoscaler adjusts replica counts based on observed metrics, and Cluster Autoscaler can provision additional nodes when needed.
- Storage management: Persistent Volumes and Storage Classes abstract underlying storage systems, allowing containers to request and mount durable storage declaratively.
Getting Started: Installing the Google Cloud SDK and Kubernetes on GCE
Kubernetes runs on many platforms including Google Kubernetes Engine (GKE), Amazon EKS, Azure AKS, and bare metal. The steps below demonstrate setting up Kubernetes on Google Compute Engine (GCE) using the Google Cloud SDK on an Ubuntu/Debian host. Google offers a free-tier trial — check the current Google Cloud Free Program page for up-to-date credit amounts and duration, as these change over time.
Step 1 — Install Prerequisites (Python and curl)
sudo apt-get update
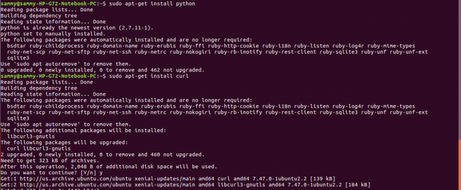
sudo apt-get install -y python3
sudo apt-get install -y curlCode language: JavaScript (javascript)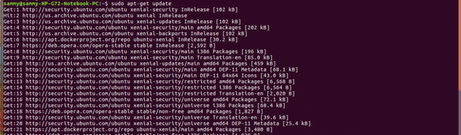
Step 2 — Install the Google Cloud SDK
The Google Cloud SDK provides the gcloud command-line tool needed to manage GCE resources and later interact with your Kubernetes cluster.
2a. Set the repository environment variable:
export CLOUD_SDK_REPO="cloud-sdk-$(lsb_release -c -s)"Code language: JavaScript (javascript)2b. Add the Google Cloud package source:
echo "deb https://packages.cloud.google.com/apt $CLOUD_SDK_REPO main" \
  | sudo tee -a /etc/apt/sources.list.d/google-cloud-sdk.listCode language: PHP (php)
2c. Update package lists and install the SDK:
sudo apt-get update && sudo apt-get install -y google-cloud-sdkCode language: JavaScript (javascript)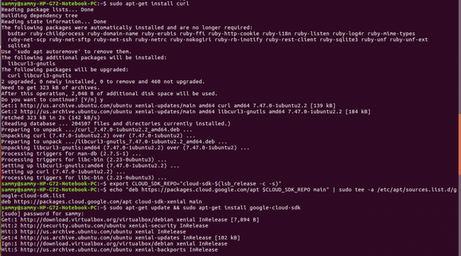
Step 3 — Initialise the SDK
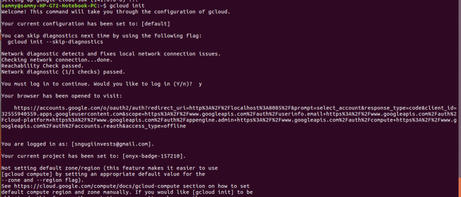
Initialisation authenticates the SDK against your Google account and sets a default project and compute zone.
gcloud initFollow the prompts. A browser window will open asking you to sign in with your Google account. Once authentication succeeds, a confirmation message is displayed.
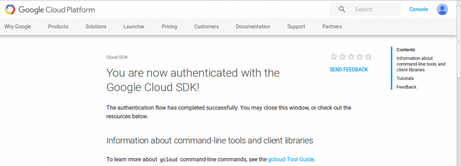
Step 4 — Verify the SDK Installation
Use the following commands to confirm the SDK is working correctly and to explore available sub-commands:
gcloud info
gcloud help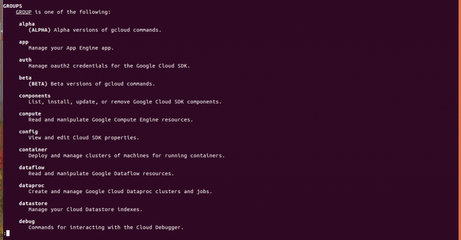
Step 5 — Set Your Active Project
A default project is created during initialisation. To list the currently active project:
gcloud config list projectCode language: PHP (php)
To switch to a different project, pass its project ID (visible on the GCP Console dashboard):
gcloud config set project YOUR_PROJECT_IDCode language: JavaScript (javascript)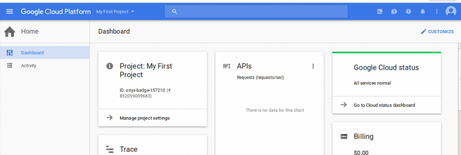
Step 6 — Install Kubernetes
With the Google Cloud SDK configured, install Kubernetes using the upstream install script. By default this targets GCE as the cloud provider:
curl -sS https://get.k8s.io | bashCode language: JavaScript (javascript)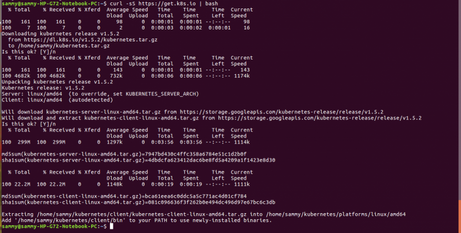
Note for modern deployments: The get.k8s.io script installs a standalone Kubernetes cluster on GCE VMs. For production use today, consider using Google Kubernetes Engine (GKE) (gcloud container clusters create), which provides a fully managed control plane, automatic upgrades, and integrated monitoring.
Summary
Containers solve the environment inconsistency and dependency conflict problems of traditional deployments by packaging an application and its runtime dependencies into a portable, isolated image. Kubernetes takes this further by providing a declarative API for scheduling, scaling, and operating those containers across a cluster — handling the operational complexity that would otherwise require bespoke tooling and manual intervention.
The setup walkthrough above covers installing the Google Cloud SDK and bootstrapping Kubernetes on GCE. From this foundation you can begin deploying pods, configuring services, and exploring the broader Kubernetes ecosystem including Helm, Operators, and GitOps workflows.