Hello everyone, you know the different phases of programming and about its evaluation on that, it is performing their task. So, we are going to learn about Gitlab CI/CD from very basic & scratch and if you don’t have primer knowledge on the above topic so, don’t worry, we will go up step by step. And in this lesson, we will engage with various topics like what is Gitlab CI/CD? We will create a .gitlab-ci.yml file, this is a file where we add our jobs and create a pipeline and I will show you how to do that then we will run CI/CD pipeline in Gitlab so, this is going to be very easy and interesting.
What is Gitlab CI/CD?
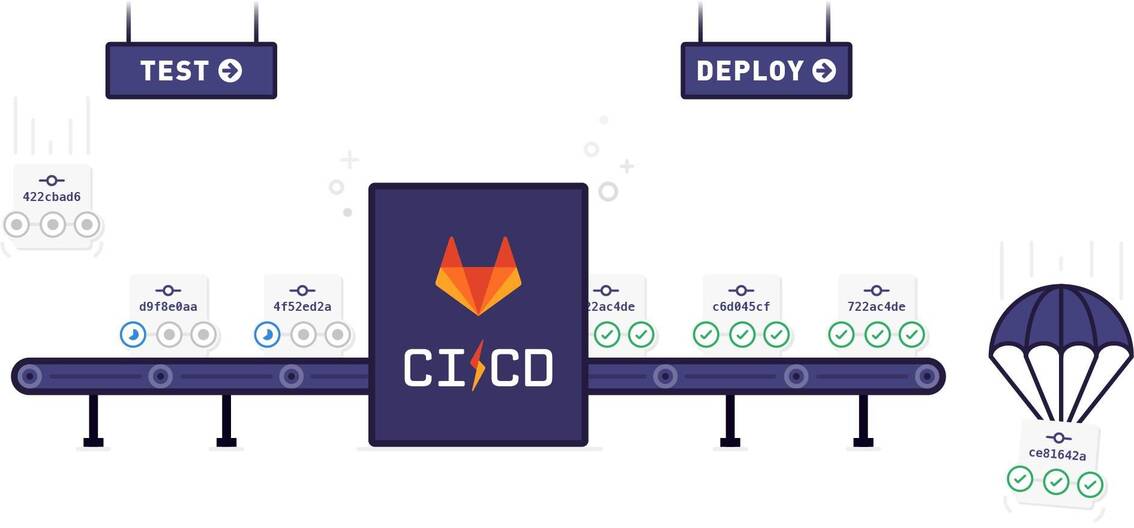
Let us learn about what is Gitlab CI/CD? So, you will go to Google & search for continuous integration and delivery. You will go to images and select one image there. You will see there, you will have continuous integration then CI stands for continuous integration so, the continuous delivery is CD and again, we will call continuous deployment is CD so, this is what we call CI/CD. And there, if you will look at continuous integration. There will be a process where you will have these three jobs and processes, chained and linked with each other. Why is it will be linked? I mean, if the first dev process or dev job runs and passes. And it will trigger the next job that is in the test job application test. If the passes it will trigger then the next job that is an integration test and you will have our continuous integration pipeline completed so this is what is called as CI or continuous integration and if this all these jobs in this cycle are chained with each other and our automated triggered we call it as a continuous integration system now if you also add an acceptance test job or acceptance test process which is also automated and linked this becomes a continuous delivery because after this step our application or our product will be ready for delivery so this becomes continuous delivery and if we also add our deployment job or a deployment process that will reply to the production and all these jobs are automated and chained and can be automatically triggered then this becomes a continuous deployment pipeline so this is what we call as continuous integration and continuous delivery and continuous deployment. Now, in GitLab as well we have this corners integration delivery and deployment, and here this GitLab CI is an open-source CI service or a continuous integration service included with GitLab and by default, this is integrated with every in your GitLab since version 8.0 so, if you are using version 8.0 or above GitLab then in all your projects by default you will have GitLab CI integrated and enabled by default and to go to the settings and to configure GitLab CI you should be a maintainer or our owner or an admin on your project so, you go to your GitLab account if you just go to your Gitlab you will sign in so, you can see there your projects and if you see the projects there you will be maintainer on one projects and owner on the other projects so, you can configure GitLab CI/CD so, this is what GitLab CI/CD is now.
Create .gitlab-ci.yml file
Actually, create a GitLab CI/CD pipeline, you will have to add a file called .gitlab –ci.yml so, yml files or ml is a format of writing text files, and like you have JSON and XML. Ml is also a format and I will show you that how to create it and you have to create this file in the root folder of your project or your repository so, whatever the root folder is and you will be creating this file in the main folder or the root folder of your project. Now, before we start creating this file so, this is used to configure our pipelines and in every project, you will be having, you will be adding this file where you can add the details and it will define the structure and order of the pipeline and once you create it you will know exactly what you mean do not worry if there is there are some things that you are not getting once you create the file and run it you will know exactly what it means? So, you will create a file now if you are on Mac, you can use any text editors like you have text editors on Mac then you have text wrangler anything will work if you are on windows, you can again use notepad or notepad ++ or in fact, you can use any editor but you have to make sure the syntax is correct and I will show you how you can check the syntax so, you will open your window with notepad++. You will open a new file and on your mac, you will open your text wrangler file so that you can create it there so to create a file you will just give some name of the job you will say that is demo job one. So, you will say demo job one any name you can give there and give a colon go to the next line and you will give five spaces so, you can give any number of spaces but you will have to be consistent with that so now you will say tags and there give a colon again go the next line give two spaces and you will give a hyphen and spaces and I can give any tag here now tags are important because in your gitlab you will be having the gitlab runners and they have some tags and the text should match only then the gitlab runner will run this particular file so if you go to my project on gitlab and there if you go to settings and go to CI/CD and you have runners there you will click on expand and you can see you had created this runner earlier and you had given this these tags there CI and SSS so you should be having one of these tags so that the runner can pick up this file and run it so, you will say CI there and you will go again to next line now again you will give there script and this is in line with tags again go to next line two spaces – and there you can write any command or script you want to run so, you will say hello echo hello world so they should run this command in this job this is a very simple file where you are running that script echo hello world so they should print hello world on the console and now you can also do the same thing on your windows on the notepad so you can create it like this and now you will have to make sure the syntax is correct and for that you can copy the contents and you can just go to google and search for any ml file validator utility or application and you will see that you have yam lint, yaml validator online this all you will go to yaml lint and paste your contents of the ml file and there you have to go button you will click there go and check and yes everything is fine it will says it is a valid YAML so that is fine you will now just save this so you will save this file and you have to make sure the name there should be .gitlab –ci.yml as of now you will save on desktop but you will move it to your project folder so, you will say as it is. I hope this will more authenticate your performances and give you a hike in the sections of Gitlab CI/CD.